How To: Make a Pot of Beans
Beans don't get much credit these days, but they are full of protein and fiber, low in saturated fat and sodium, and perfect to add to almost any meal.
In our house, we love to add beans, primarily black beans, to our breakfast burritos, added on top of a salad at lunch, or in enchiladas or pureed into a soup. They are cheap to make too, with up to 12 servings costing barely $5.00 total for all the ingredients when using a bag of dried beans.
More...
In this how-to, I will show you how to make a pot of black beans using bagged dry beans. I am using black beans because they are so versatile to use. If you want to make any other type of bean, you could follow the same steps but change the seasonings. For instance, this calls for mostly spices, etc, but if you're making white cannelloni beans, you might want to stick to herbs. Some beans will have different cooking times as well. Typically, black beans take at least 1 1/2 hours to cook, but sometimes they need to stay simmering for longer. Do plan to spend a chunk of your day keeping an eye on the stove when making these. The best time for me I find is on a lazy Sunday watching Netflix - you can relax but still be in the house while these simmer away.
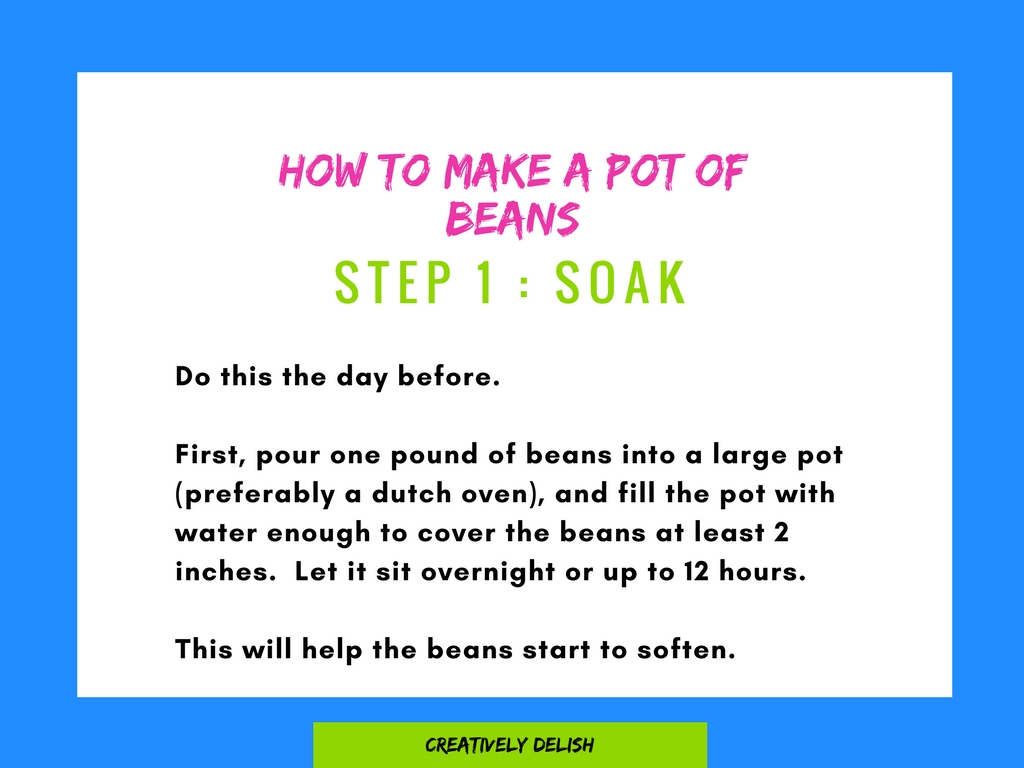
Step 1 : Soak
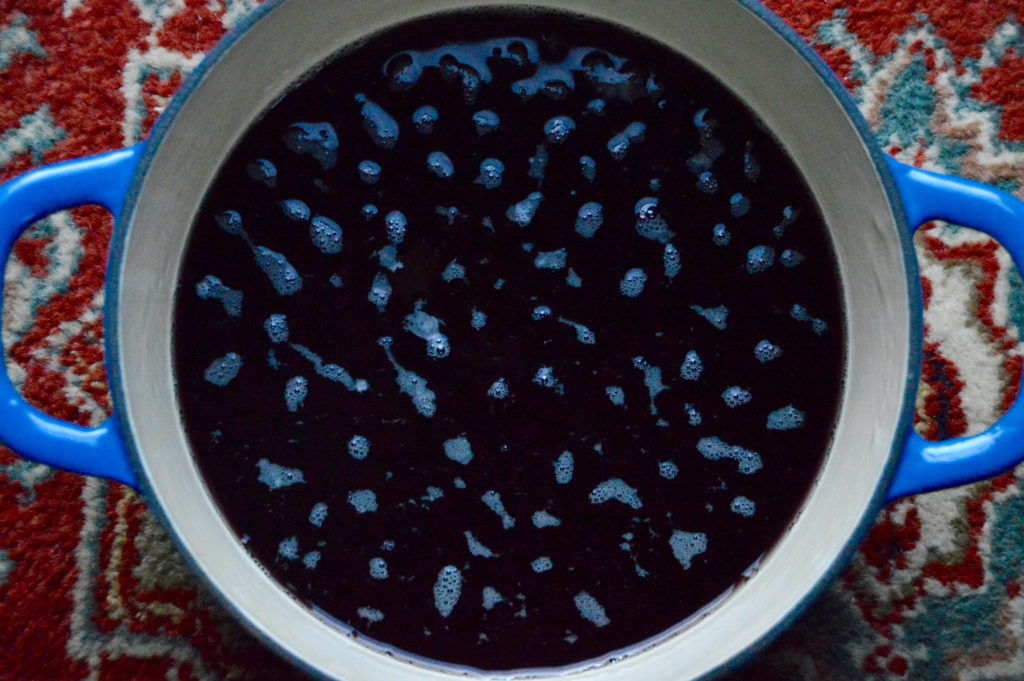
First, pour one pound of beans into a large pot (preferably a dutch oven), and fill the pot with water enough to cover the beans at least 2 inches. Let it sit overnight or up to 12 hours, then drain the liquid. This will help the beans start to soften.
Step 2 : The Ingredients
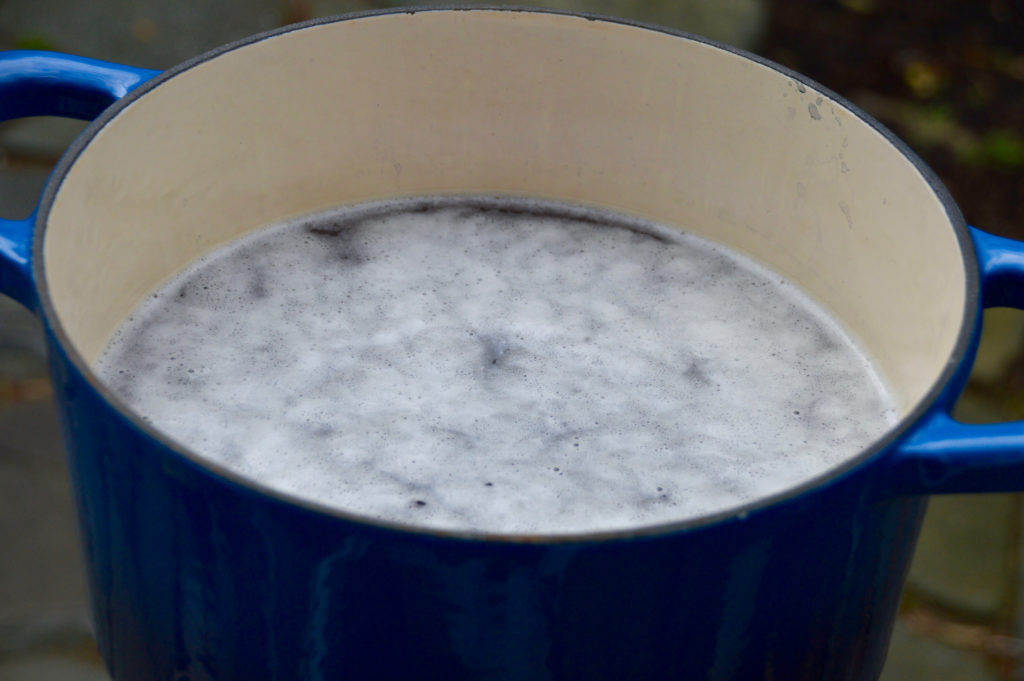
Next, fill the pot again with 10 cups of water, then set the pot to a low boil. You will start to notice a foam forming at the top. Take a strainer and carefully remove the top layer of foam. You may have to do this two or three times.
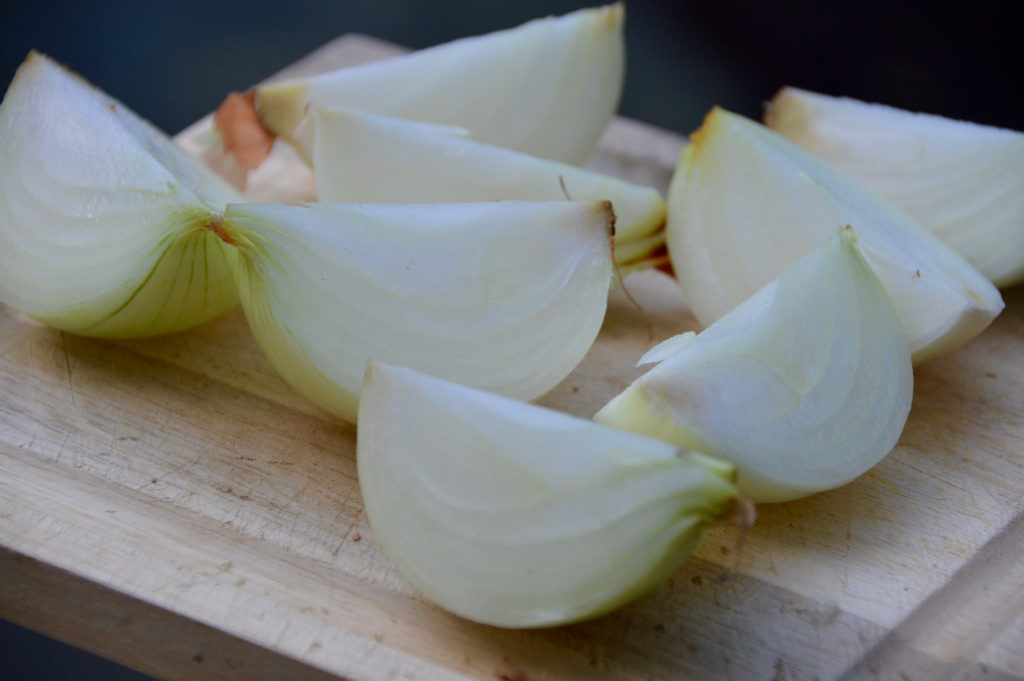
Once the water is at a low boil. add 1/2 cup of olive oil, 2 TBS ground cumin, a few pinches of salt and pepper, two onions quartered then chopped and one jalepeno sliced lengthwise, end removed and seeded into the pot.
Step 3 : Simmer
Set the heat to a low simmer, then cover the pot and allow the beans to cook for 1 hour. After the first hour, stir the beans and add a little bit more salt to the pot. Cover again and cook for another 1 -2 hours, depending on the consistency of the liquid. I've had beans that kept their liquid more watery and others where the liquid became thicker. I have found that the difference is between the brand of bean I am using as well as the quality of the bean.
If the liquid is still watery, you can cook a little longer. If the liquid becomes thicker, I wouldn't cook them much longer. Once you let the beans cool, the liquid will thicken as it is.
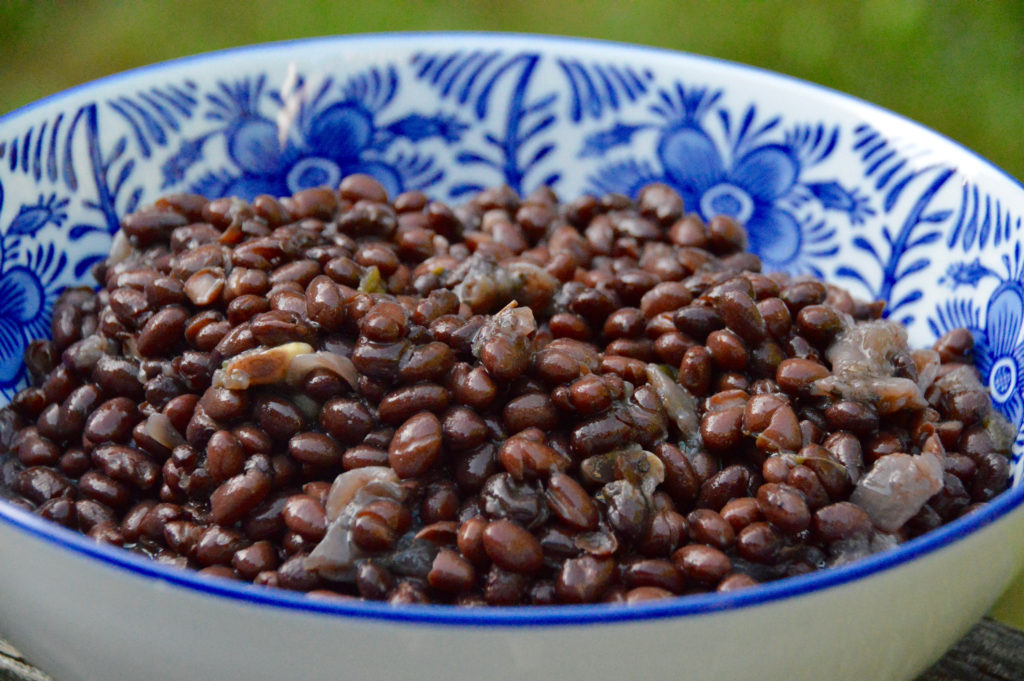
Step 4 : Cool & Store
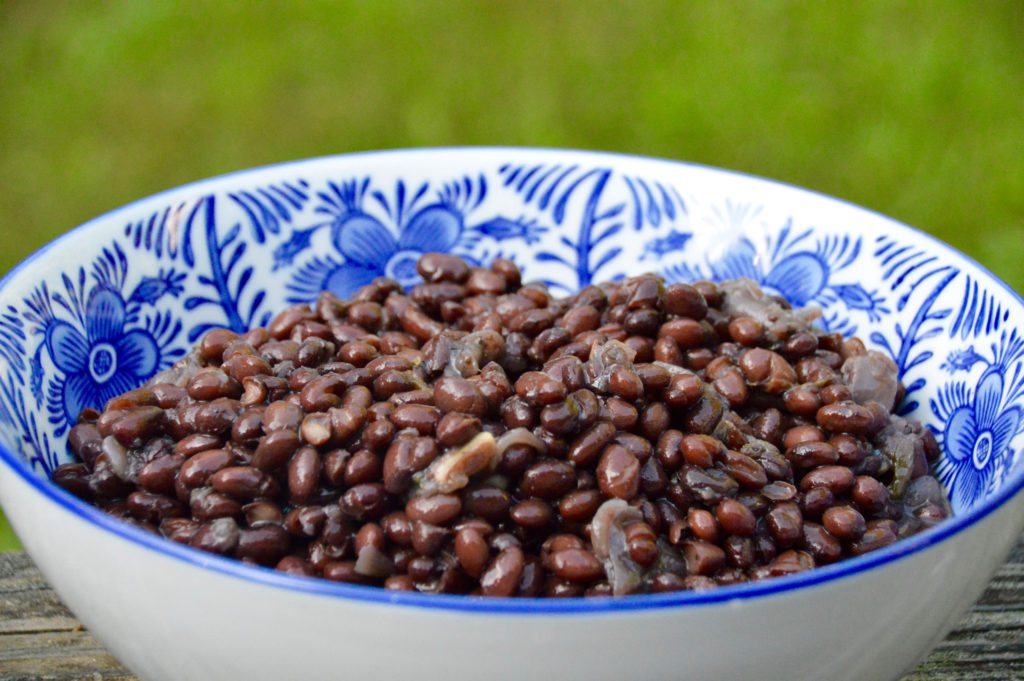
Once the beans are cooked, turn the heat off and let the beans cool in the pot covered for at least 1 hour. Taste test and see if you need to add any more salt or cumin if the beans taste at all bland.
If there is still a lot of liquid left, you can either drain them or keep the beans in their liquid. If I am making a black bean soup, I would keep the liquid, but if I was using the beans to make enchiladas for example, I would drain them.
You can store the beans in airtight containers for up to one week in the fridge, or freeze them for up to a month.
Check out my handy (and printable) step by step tutorial by clicking the photo below or by clicking here!